In today’s digital age, video content has become a popular means of communication, entertainment, and education. However, not everyone can fully experience videos due to hearing impairments, language barriers, or noisy environments. To address this, online captioning services have emerged as an essential tool to enhance accessibility and inclusivity in online videos.
Captions for videos can be created as either closed captions or open captions. Although they both help to improve accessibility and inclusivity in videos, there are a few main differences between the two types.
What are Closed Captions?
The term “closed captions” (CC) refers to text overlays in a video that can be turned on or off by the viewer, providing a synchronized transcription of spoken dialogue, sound effects, and relevant audio elements within a video. The key here is that viewers have the choice of whether they want to turn the captions on or off. Some individuals choose to keep closed captions turned on always, no matter what program they are watching. Others choose to turn closed captions on only during moments of low audio volume or when watching programs with other viewers who need captions.
Closed captions are typically encoded within the video file, making them accessible through the video player’s settings. Closed captions are widely used across various platforms, including television broadcasts, streaming services, online videos, and DVDs.
Benefits of Closed Captions:
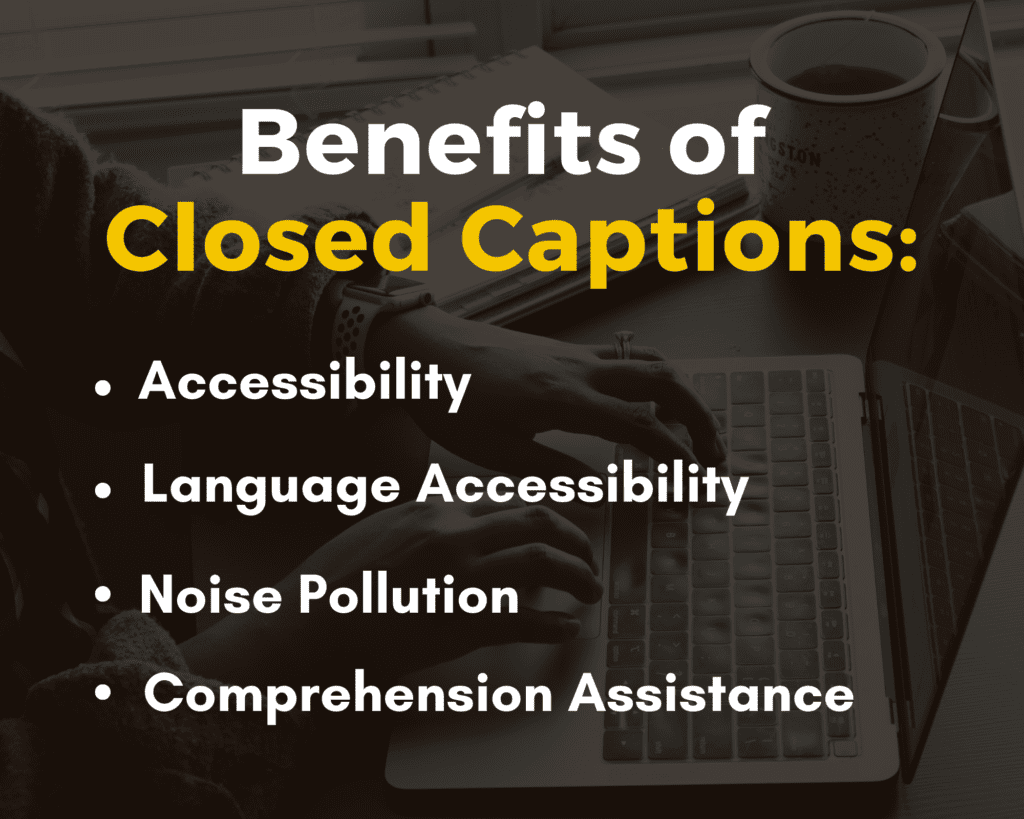
Accessibility: Closed captions ensure that individuals with hearing impairments can fully understand and enjoy video content. They provide a textual representation of dialogue, allowing people who are deaf or hard of hearing to follow along with the video. Closed captions are a crucial accessibility feature, promoting inclusivity and equal access to information and entertainment.
Language Accessibility: Closed captions can also benefit viewers who do not have a strong grasp of the video’s original language. When translated into foreign languages, closed captions enable individuals with limited language proficiency or non-native speakers to comprehend the content more effectively. Translated captions enhance the accessibility of videos to a global audience.
Noise Pollution: Closed captions are invaluable in environments with background noise, such as crowded spaces or public transportation. They allow viewers to follow the video without relying solely on audio, ensuring a seamless viewing experience in any setting. Closed captions mitigate the impact of noisy surroundings, ensuring that the content remains accessible and understandable.
Comprehension Assistance: Closed captions can aid viewers in understanding accents, dialects, or fast-paced dialogue, as well as the pronunciation of unfamiliar or technical terms. This feature benefits a broader audience, facilitating better comprehension for everyone. Closed captions serve as a helpful tool for individuals who may struggle with certain accents or linguistic nuances.
What are Open Captions?
Open captions (OC), also known as burned-in or hard-coded captions, are permanently embedded in the video itself, and viewers cannot toggle them on or off. Unlike closed captions, open captions are always visible and cannot be disabled. Open captions are typically added during the video editing process and become an inherent part of the visual content.
The key here is that open captions are permanently embedded into a video by the video creator and the viewer does not have the option to turn them on or off.
Uses and Benefits of Open Captions:
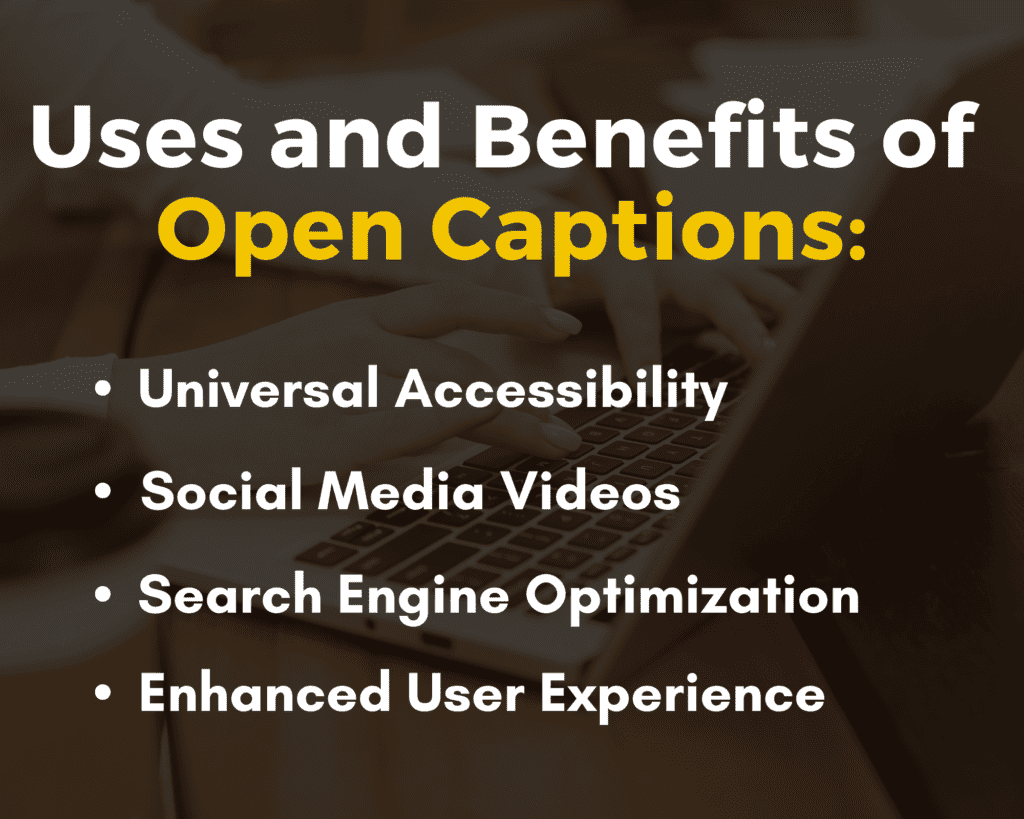
Universal Accessibility: Open captions are ideal for situations where it is crucial for all viewers to have access to the captions, regardless of their preferences or the capabilities of the video player. This includes public events, presentations, and screenings where caption visibility is necessary. Open captions guarantee that every viewer can benefit from the captions without the need for additional settings adjustments.
Social Media Videos: Open captions are widely used in videos shared on social media platforms, as they automatically display on the screen, ensuring that viewers can consume the content without any additional actions. This approach allows for a seamless viewing experience, especially when videos are played in a muted state. Open captions make videos more accessible and engaging, particularly on platforms where audio is frequently muted.
Search Engine Optimization (SEO): Open captions can contribute to the discoverability of video content by search engines. As the captions are part of the video, the text becomes indexable, enhancing the video’s visibility and potential reach. Open captions provide an opportunity to improve the search engine rankings and make video content more accessible to a wider audience.
Enhanced User Experience: Open captions eliminate the need for viewers to enable captions manually, streamlining the viewing experience. This format guarantees that all viewers, regardless of their familiarity with technology, can access the captions without having to navigate video settings. Open captions enhance the overall user experience by removing any barriers to caption accessibility.
How to create open and closed captions:
The process of creating open and closed captions starts with the creation of an SRT (SubRip) file. SRT files can be created manually or automatically, depending on the budget, time constraints, and accuracy needed by the video creator.
Manually create an SRT file:
To manually create an SRT file, you’ll first need to transcribe the dialogue. This can be a time-consuming process that involves listening and typing out the audio word-by-word which then needs to be broken down into smaller sections for each subtitle line. To do this, open a plain text editor like Notepad (Windows) or TextEdit (Mac).
These subtitle lines then need to be assigned a timecode that represents the start and end times for each subtitle. These timecodes are formatted as “HH:MM:SS,mmm” (hours, minutes, seconds, milliseconds).
Each subtitle in an SRT file consists of three parts:
- Subtitle number
- Timecodes
- Text for the subtitle line
Each subtitle should be separated with a blank line and the SRT file must be saved with the “.srt” extension. For example, “myvideo.srt”
To check that the SRT file is formatted correctly, simply upload the file alongside your video using a video editing platform. Each subtitle text line should appear in the correct order and correspond with the audio.
Manual subtitle creation software
There is subtitle creation software available online to help video creators make subtitle files more easily. This software ensures that there are no timing issues with the subtitles nor text issues.
WincapsQ4, for example, is a subtitling tool that formats each subtitle for the user and connects the video to the text to ensure that the timing of each subtitle line is correct. Users only must transcribe the audio of their video file, as WincapsQ4 takes over the formatting work. Users can also upload a preexisting subtitle file to edit the text or timing easily.
Automatic transcription service
Perhaps the easiest of all methods, automatic transcription services make creating an SRT file fast and easy. These services use automated speech recognition (ASR) technology to transcribe speech-to-text in just minutes. This transcription is then timecoded and formatted correctly to be an accurate SRT file.
Using an online automated transcription service such as SubCaptioner, for example, creators upload their video and receive an SRT file back in minutes. No extra formatting is required, and edits to the subtitle text can be made easily if needed through a plain text editor.
Deciding which method of creating an SRT file is best for you
To determine the best way to create an SRT file, consider your budget, time constraints, and experience.
The cheapest way to create an SRT file is to manually create the file on your own using a plain text editor. This is a free way of creating an SRT file, but it is the most time-consuming and the most prone to errors. If you’ve never made an SRT file before, you may find yourself with lots of errors in the timing and text of each subtitle. Transcribing speech-to-text by hand can also cause spelling and grammatical errors.
Using a manual, subtitle creation software application will help users with little experience avoid making timecode and spelling errors. This software can typically be purchased for a one-time fee or for a monthly fee and is great for individuals who are going to be making lots of SRT files each month. Using this software still requires manual speech-to-text transcription which makes the process time-consuming as well.
An online automated transcription service is the fastest and easiest of all the methods. No manual labor is required, and errors with time codes or spelling are avoided. Online transcription services typically charge per minute of audio. SubCaptioner, for example, charges only $0.25/minute which makes it an easy and affordable option.
If you are concerned about the quality of your SRT files, consider using a hybrid method of both an online automated transcription service and manual subtitle creation software. While the automated transcription service creates the SRT file for you, the manual subtitle creation software allows you to make edits easily and quickly to any incorrect wording. This ensures that your SRT files are almost 100% accurate without taking days to create.
How to embed open captions into a video
Once an SRT file is prepared for a video, the creator can permanently embed this file into it to create open captions or upload it separately alongside the video as closed captions.
Captions can be embedded into a video using most video editing software such as VLC Media Player and Adobe Premiere.
How to embed captions to a video using VLC Media Player:
- Download, install, and open VLC Media Player
- From media, navigate to the stream option
- Click “add” and select media
- Check “use a subtitle file”
- Select the subtitle file that corresponds to the video
- Click “stream” to execute the export
- Select the file type and click add
- Check “activate transcoding and overlay subtitles”
- Click save
How to embed captions to a video using Adobe Premiere:
- Open video in the Premiere Project Pro Timeline
- Import the SRT file
- Drag and Drop the SRT file into your sequence
- Select File › Export › Media, and choose your format
- Under the captions tab, choose “Burn captions into video”
Closed captions and open captions serve as essential tools in enhancing the accessibility and inclusivity of video content. Closed captions provide the flexibility for viewers to enable or disable the captions, making them suitable for a range of applications, including television, streaming services, and online videos. Open captions, on the other hand, are permanently embedded in the video and cater to situations where caption visibility is necessary or when social media sharing requires automatic display. Understanding the differences, uses, and benefits of both closed captions and open captions empowers content creators and providers to make informed decisions regarding captioning, ultimately ensuring equal access to video content for all individuals, regardless of their hearing abilities, language proficiency, or environmental constraints.
To easily create an SRT file for your video, use SubCaptioner: an online automated captioning service. SubCaptioner creates SRT files and text transcripts for video and audio files in just minutes, and for only USD$0.25/minute! Simply create a free account, upload your video file, pay using the secure checkout system, and then download your SRT file! It’s easy, fast, and affordable.